Adding users and shares to FreeIPA
Last time we showed how to install FreeIPA on a Raspberry PI 4 with Fedora Server and then we showed how to connect to it from a Fedora Workstation client. This is all part of a longer series about setting up an identity server in the home network, allowing us to have the same users accessing network shared services and shares.
Once FreeIPA is installed and configured, all we need to do is add users, shares, sudoers and whatever policies we want using the FreeIPA web user interface. I will use the demo FreeIPA web page to show how to do it. For your network, the admin interface will be located at https://your-server-ip/ipa/ui.
Adding users
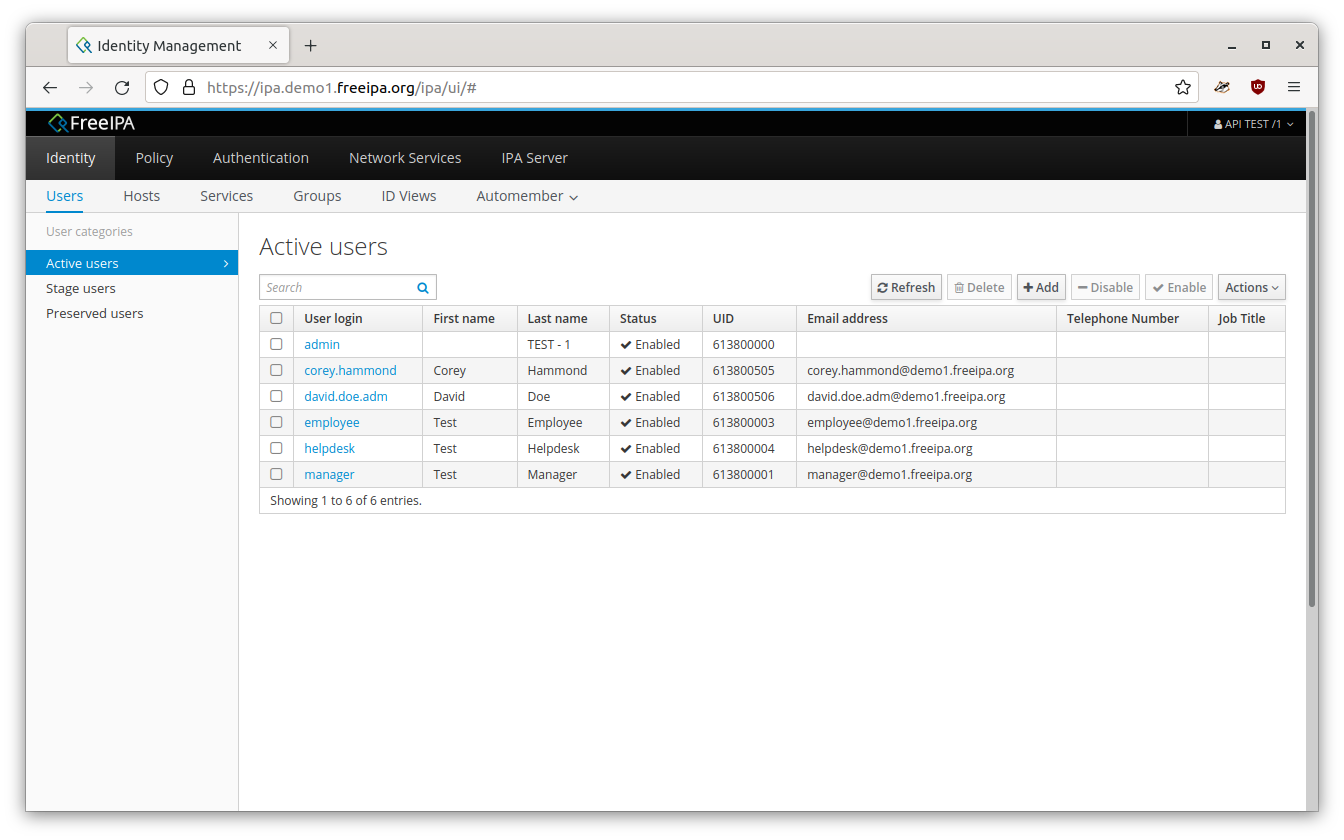
To configure users, you must go to the Identity tab, Users sub-tab, like in the screenshot above. You will see all the current users here. On a clean install there will be a single user: admin, the one you also use to log in to this admin interface. We now clock on the Add button located to the right, above the user table.
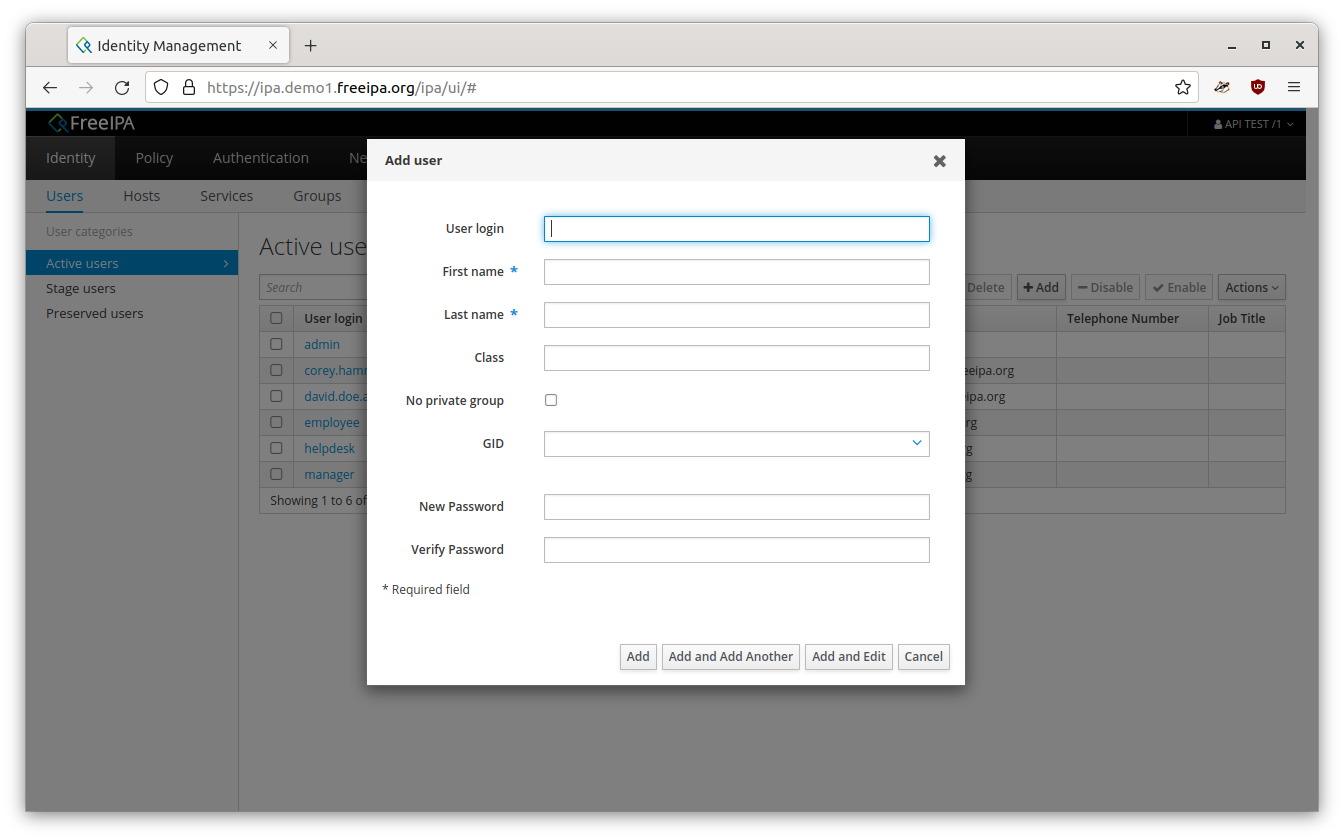
Fill in the user details: user login is the user name, first name and last name are also mandatory and then the password.

That’s all you need to do for now and then click Add and Edit: you will need to make some changes here.

We need to change a few things here. The UID and GID should be something easier to understand. I always use 10000 for both and then increase both by one for each new user. You don’t have to change this but for me it’s a lot easier to think about the network users if I have better IDs. And then you should change the Login shell from /bin/sh to /bin/bash. That’s it.
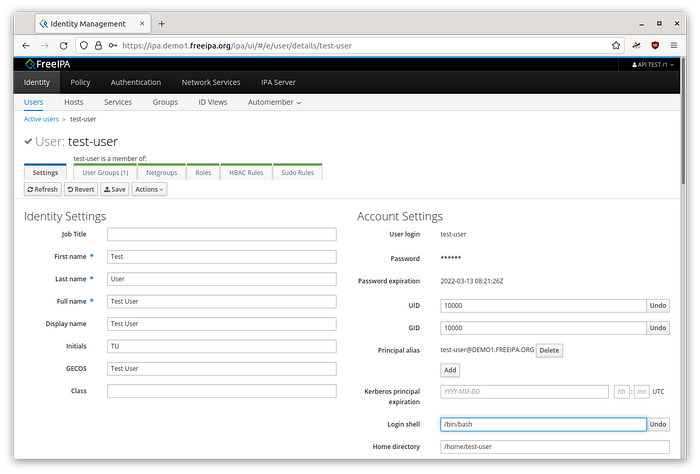
The Save button should be active now. Go ahead and click it: the first user is done. This way you should add all the users in the network, always increasing the UID and GID by one. The next user should have UID and GID 10001 and so on.
Next, we need to create a group for all the network users. All users will have their own implicit group, but we want to add them to a network-users group too so we can group them together and assign policies to them together.
Adding groups
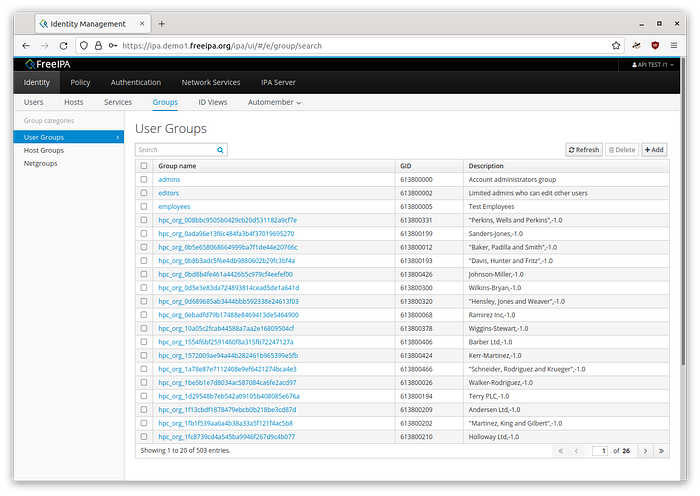
Now we click on the Groups sub-tab, where we will see all the groups in the system. Click on the Add button above the groups table, to the right.
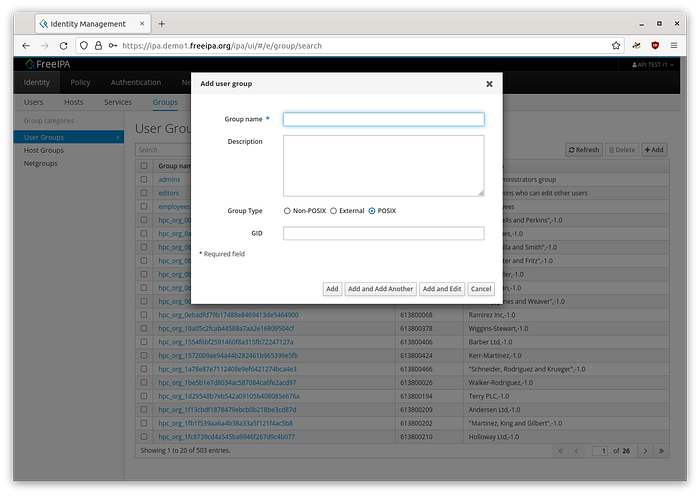
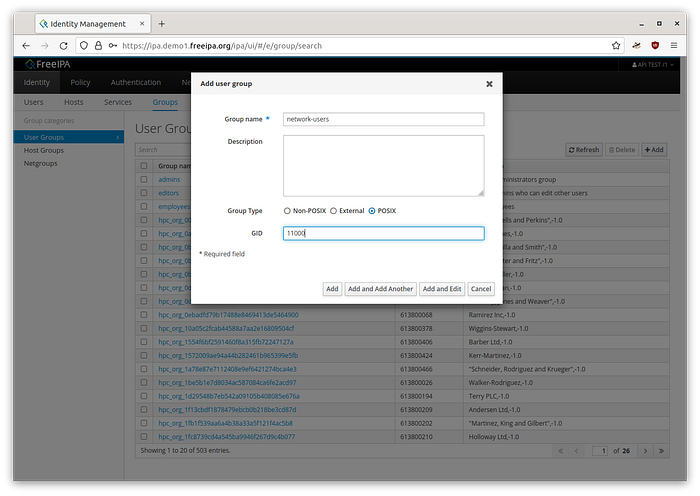
We give it a name, a description and an ID. The group name should be something like network-users. It should clearly state the group purpose. The GID can be anything, I usually put 11000 or 20000 but note that this ID has nothing to do with the user IDs we set earlier. Also, note that it starts way above our implicit user groups which started at 10000. The group ID we create here cannot conflict with the implicit user group IDs we create when adding users.
Click on Add and Edit again because we want to add users to the group.
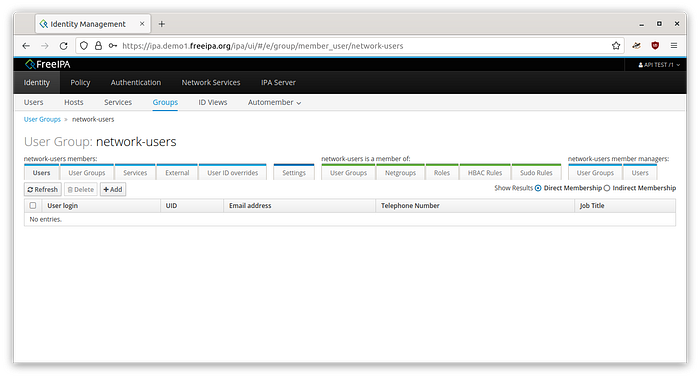
To add users, click on the Add button located above the table.
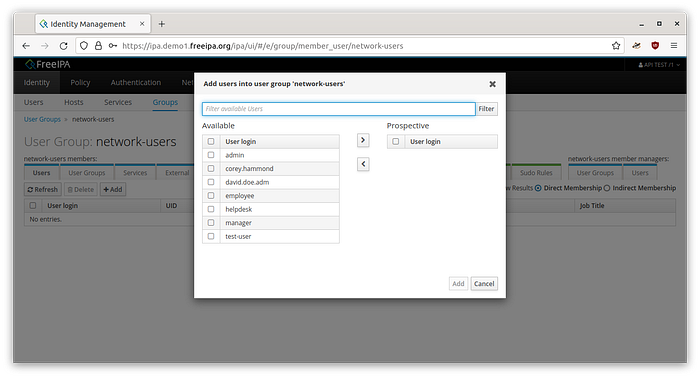
We now simply select all the users that should be in the network-users group:
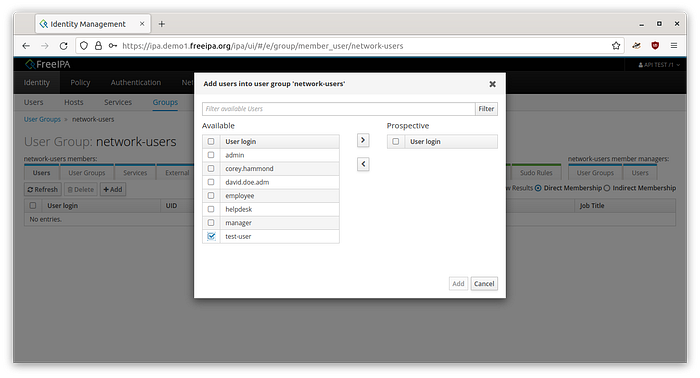
And now we click on the right arrow to add them to the group:
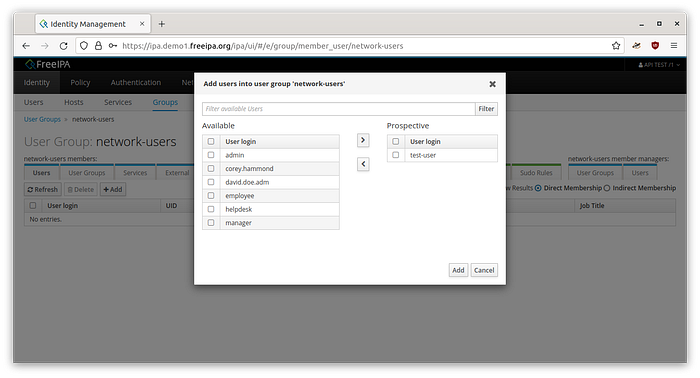
Click on Add:

The test-user is now part of the network-users group. Next we configure sudoers.
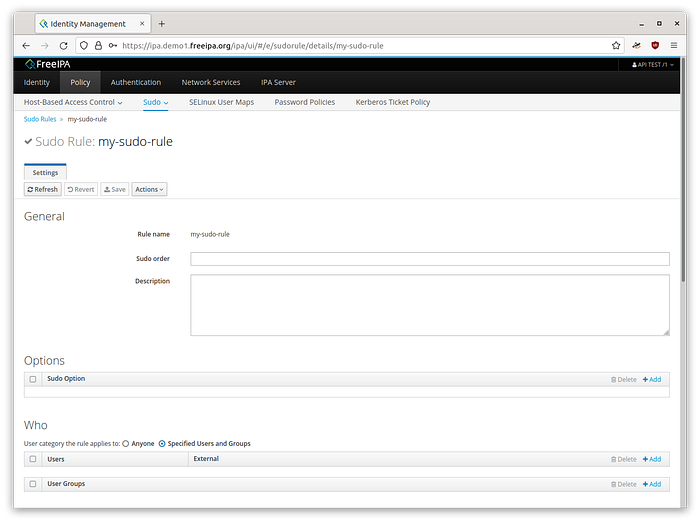
Adding sudoers
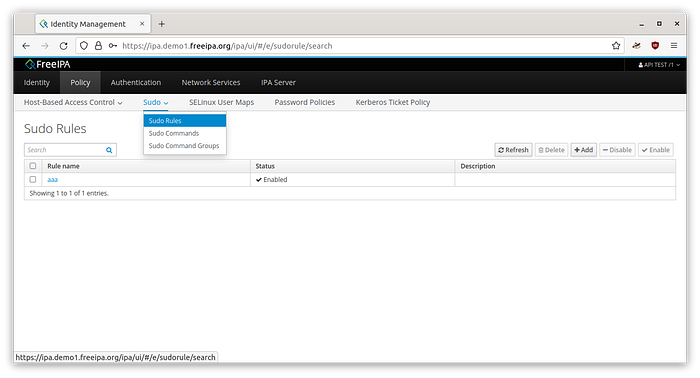
To add sudoers, we need to click on the Policy tab above, then click on the Sudo sub-tab and Sudo Rules in the drop-down menu. This will bring us to the Sudo Rules table. Click on Add in the top right to add a new rule:
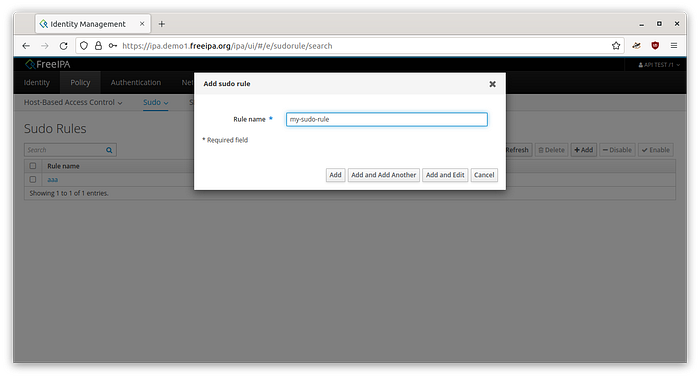
Simply give it a recognizable name and click Add and Edit to configure it:
First, we need to add the users or groups that will have sudo rights. At this time the network-users group should be handy if we want all users in the network to have sudo rights. If not, we should add users individually. Click on Add from the Who section, Users table:
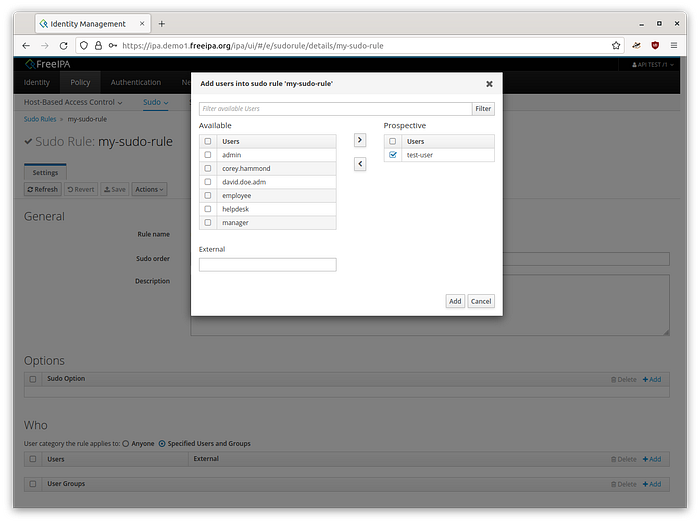
As before, select the users that should have the sudo rights and click on the right arrow, adding them to the Prospective table. Click Add, returning us to the filled Users table:
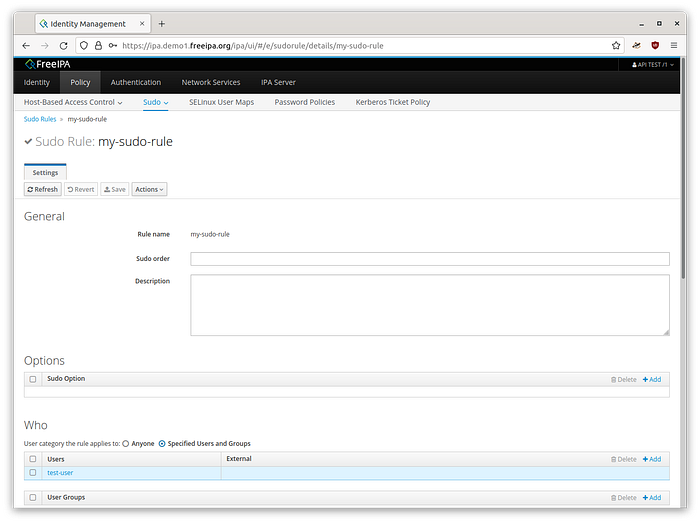
But we are not done yet. Let’s scroll down a bit:
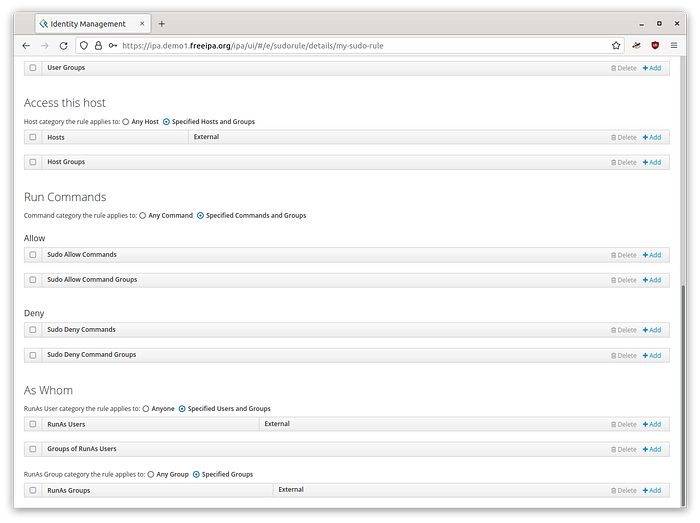
The users have sudo rights but only on the configured hosts, which right now is an empty table. To give sudo rights on any device in the network, click on Any Host. Same thing for Run Commands: you can specify what commands are allowed to be run with sudo rules. For a typical home network, all commands should be covered. Click on Any Command in the Run Commands section. Same for As Whom:
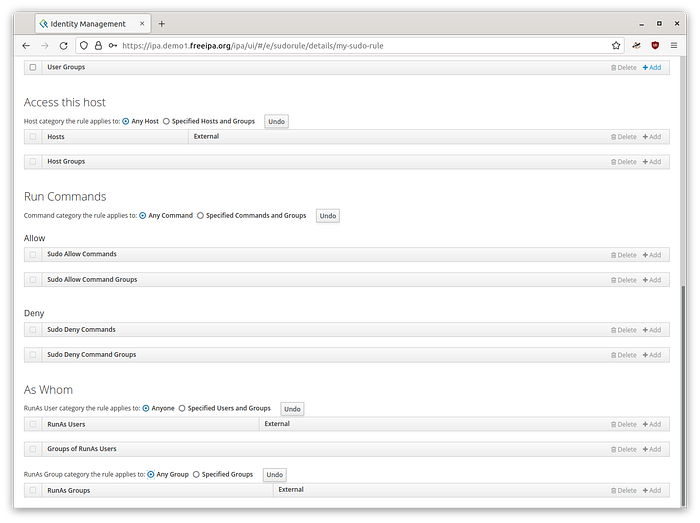
Go back up on the page and click save. The sudo policy is configured.
Adding automount shares
We will assume we have the following network shares:
/mnt/storage/books
/mnt/storage/documents
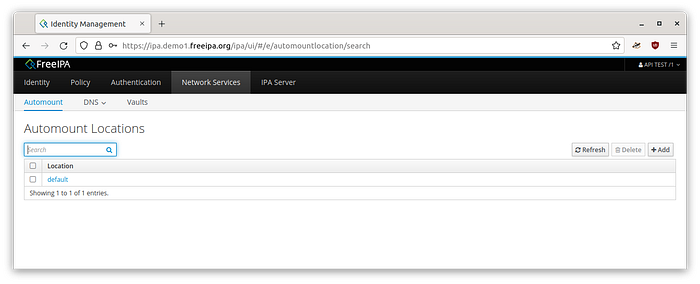
/mnt/storage/test-userWe will configure FreeIPA to automount these shares on login. Click on the Network Services tab, Automount sub-tab. There will be a default configuration already set up, so click on default to edit it:
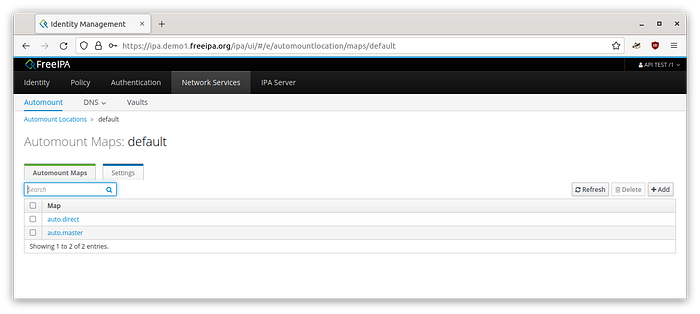
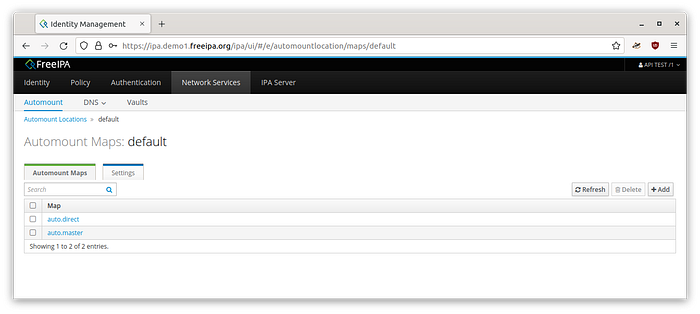
There will be two entries in the default configuration: auto.direct and auto.master. Let’s configure auto.direct first: click on it.
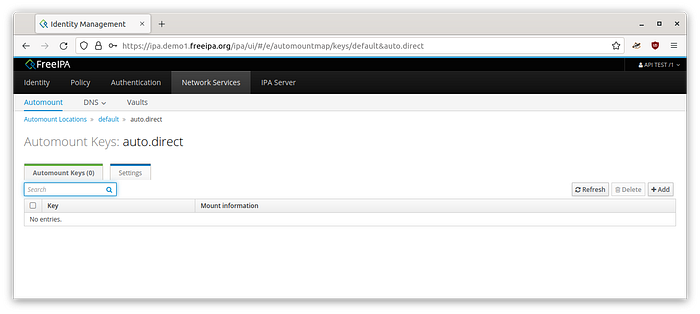
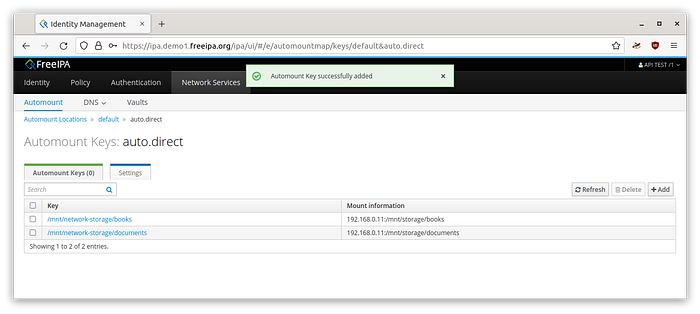
Click on add to add the first share. We will add books and documents here:
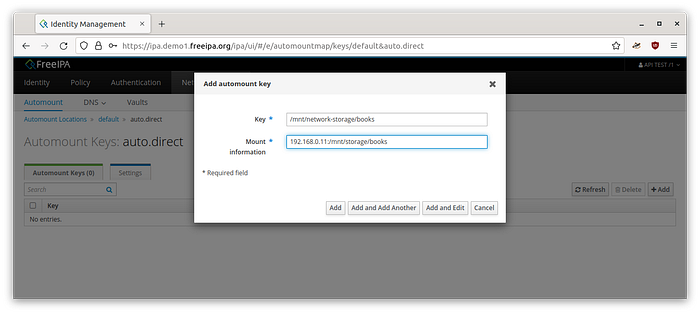
The key should point to the path where the share will be mounted on the client device. So I am on my desktop, logging in as test-user. At login, I will find on my device at /mnt/network-storage/books automatically mounted the network share located on my Raspberry PI server with the IP address 192.168.0.11, the books share mounted at /mnt/storage/books. So /mnt/storage/books is on my Raspberry PI and /mnt/network-storage/books will be on my device when I login. Click on Add and Add another, to add the documents share the same way:
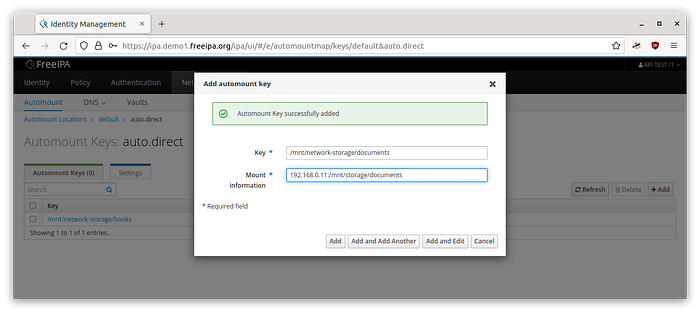
Edit the share information and click Add. This will bring us back to the table:
Let’s go back to the default rule. Click on default above the Automount Keys: auto.direct header:
We need to create an auto.home entry for user homes. Click on Add in the top right of the table and fill in the form:
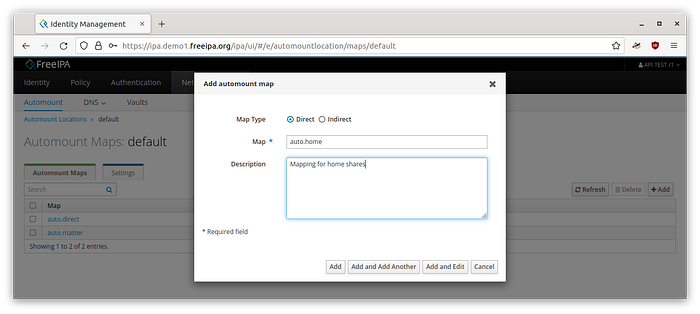
Click on Add and Edit to add the home shares:
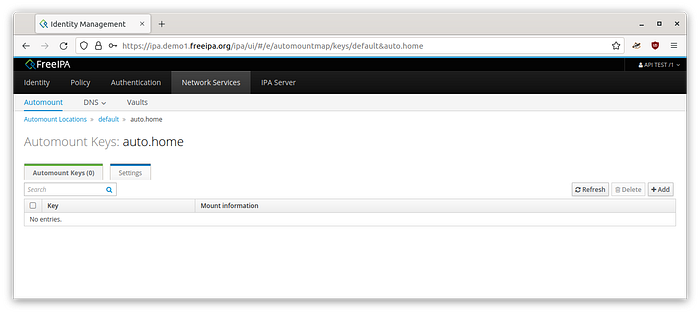
Click on Add and fill in the form for the test-user home share:

Click on Add to return to the table:
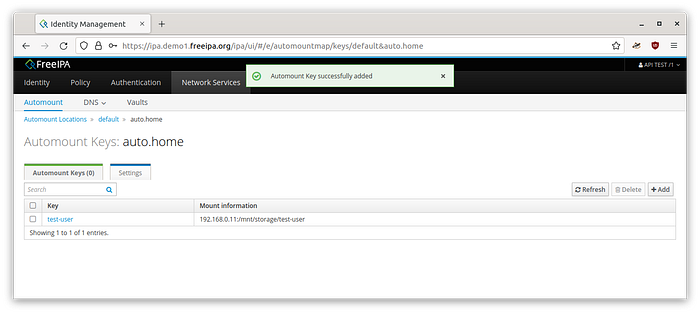
Let’s go back to the default mapping rule by clicking on default again, above the Automount Keys: auto.home title:

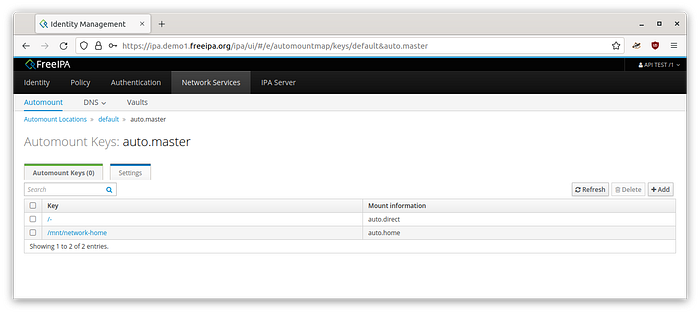
Click on auto.master to finish the configuration. It should have a single entry:
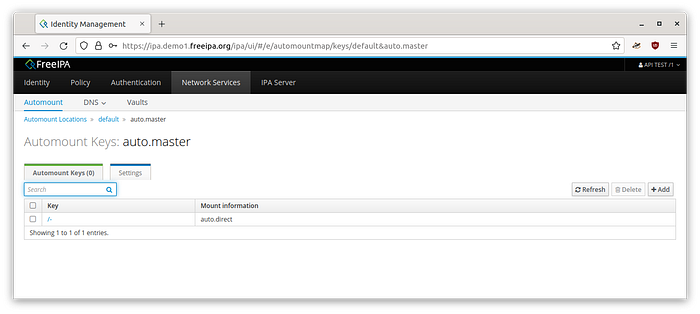
Click on Add and fill in the form to configure the home mappings:
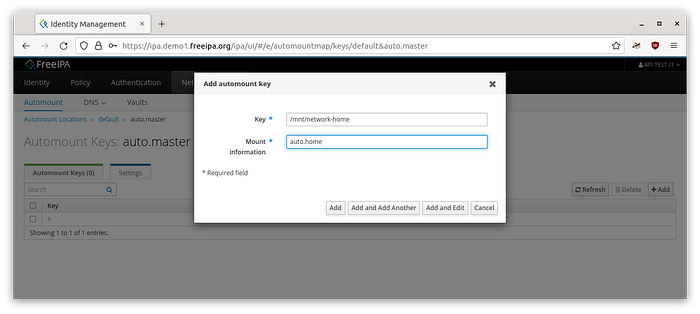
Again, the key is the mount point at the client. The mount information is a reference to the auto.home mapping rules we created before. So every mount point defined in auto.home will be mounted as a subfolder in mnt/network-home on the client device. Basically /mnt/storage/test-user from the Raspberry PI server will be mounted at /mnt/network-storage/test-user on the client at login. Click on Add to finish the configuration:
This is the end of the automount configuration. On the client machines after login you should run:
#sudo ipa-client-automountThis will enable and update automounting from FreeIPA. If you don’t run the above command, nothing will get mounted at login.
Ok, the configuration is done. It involves a bit of work, yes, but at least it is done in a nice administration UI instead of config files like for OpenLDAP. After the configuration is done, though you don’t need to, I usually reboot the Raspberry PI server to refresh everything. Then I can login on all my devices with the configured users. The configured user rights are automatically applied and the mount locations are present in /mnt/network-storage.
I hope you enjoyed the article. As always, for any questions feel free to use the comments section. As I write all this I may forget things that I did or I assume people know how to use the FreeIPA interface which is not always the case. So it helps me if people ask questions as I can improve the article further. Happy configuring and see you in the next article!